
Mushroom Hunting: Practical clues, a safe checklist, and next steps
Answer a supporting informational question discovered through web research. with visual clues, limits, and safe next checks for mushroom hunting.
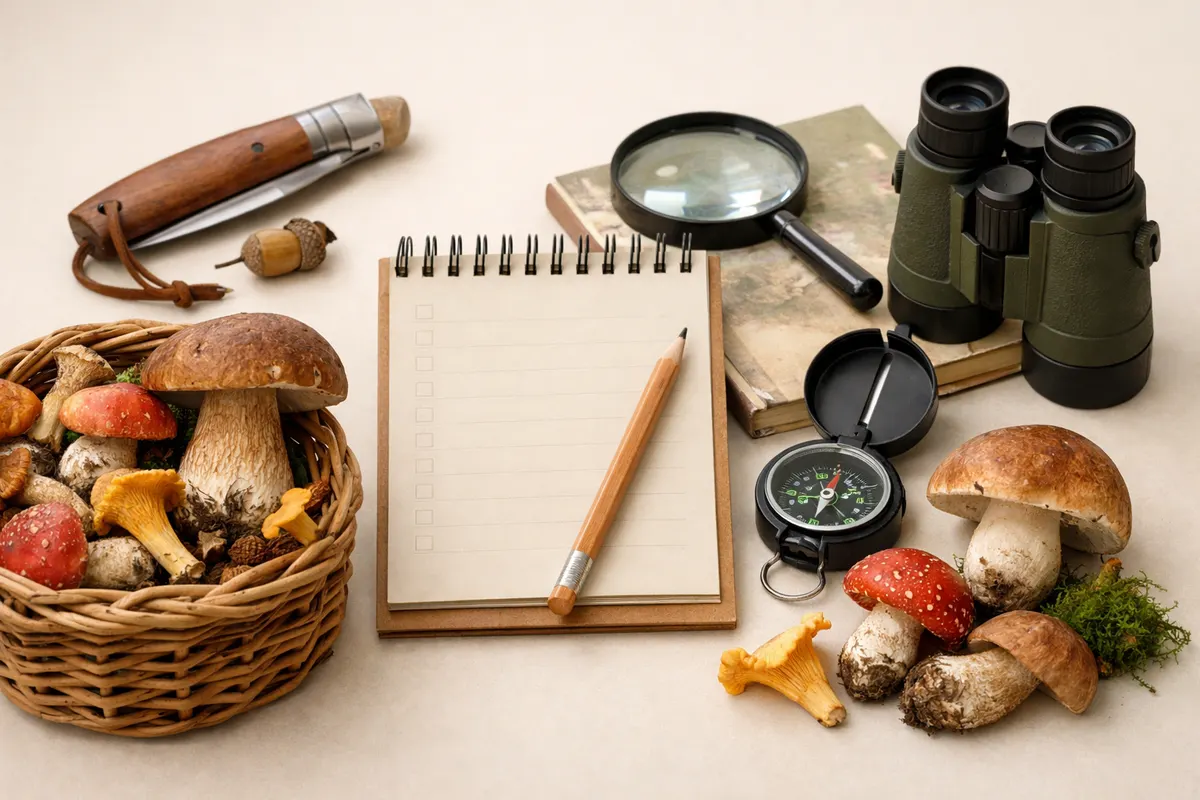
Quick answer: what to do when mushroom hunting
Mushroom hunting starts with careful observation. When you find a fungus, document clear photos of the cap, underside (gills/pores), stem, base, and the exact substrate it’s growing on. Note the date, weather, and nearby trees — substrate and season are important supporting clues but never proof of edibility.
After you document visible details, compare those clues to trusted references and local field guides. If you need a first-pass comparison, an image-based identifier can suggest possibilities, but treat any automated result as provisional: photos alone often leave key features ambiguous and cannot confirm safety for eating.
What mushroom hunting actually involves
Mushroom hunting is the practice of locating, recording, and interpreting wild fungi in their habitats. It’s part nature observation, part detective work: you collect visual and contextual evidence about a fruiting body and then compare those clues to species descriptions. The goal can be recreation, study, or gathering specimens for later identification, but the process is the same: collect evidence, cross-check, and acknowledge uncertainty.
Important elements of mushroom hunting include habitat recognition (what the fungus is growing on), seasonal timing (when it appears), growth pattern (single specimen, clustered, or in rings), and visible features (cap, gills, stem, bruising, smell). None of these on their own proves what a mushroom is or whether it’s safe to eat; they only narrow the possibilities.
Key clues to record while mushroom hunting
The strongest single clues come from a combination of microscopic and macroscopic details you can observe in the field. Macroscopic traits you can document with photos include cap shape and texture, gill or pore structure and attachment, stem features (rings, bulbous base, texture), color changes when bruised, and any distinctive odor. Record each of these clearly and from multiple angles.
Contextual clues raise or lower the likelihood of certain groups: the substrate (decaying hardwood, conifer duff, lawn, buried wood), whether the fungi grow alone or in clusters, associated tree species (oaks, pines, beeches), and the season or recent weather. For instance, many boletes prefer well-drained soils near hardwoods, while some small white mushrooms that appear in lawns after rain have a different set of likely identities.
- Cap: take a top and side photo to show color, margin, and texture (viscid, scaly, smooth).
- Underside: photograph gills vs. pores vs. teeth and note attachment to the stem (free, adnate, decurrent).
- Stem and base: show the full length and dig or gently clear soil to reveal any bulb, volva, or rooting base.
- Spore print: if safe to collect a print later, note color (white, brown, black, pink) as it’s diagnostic for many groups.
- Substrate: record whether the mushroom grows on soil, leaf litter, live tree, dead wood, or dung and name nearby tree species if known.
- Growth pattern and timing: single vs. clustered vs. ring (fairy ring), and whether fruits after rains or in a particular month.
A step-by-step mushroom hunting checklist
Start at the find: stop, observe, and photograph before disturbing the fungus. For every specimen take at least four photos: cap top, cap underside, whole mushroom from the side, and a close-up of the stem/base. Include a ruler, coin, or finger in one shot to show scale and take at least one wider shot showing the immediate habitat.
Record context immediately: date, time, temperature, recent rainfall, and tree species within a few meters. If you plan to dig the base to reveal a volva, do so carefully and place the base back in the original position to preserve context and avoid unnecessary damage to the mycelium.
Collect additional evidence selectively: a spore print can be made by placing the cap gill-side down on paper for several hours; note spore color. Smell the fresh specimen (don’t taste) and note any color changes where the flesh is cut or bruised. Keep samples separate and labeled if you’re collecting multiple different-looking specimens for later comparison.
Compare evidence systematically: check cap shape, gill/pores, stem features, spore print, substrate, and season against field-guide descriptions or local mushroom guides. Use one or two trusted references and note matching and non-matching features — mismatches often point to lookalikes rather than the initially suspected species.
- Photograph: cap (top/side), underside, stem/base, habitat; include scale.
- Record: date, weather, substrate, nearby trees, and growth pattern.
- Handle: reveal the base carefully if needed; preserve specimen context.
- Test: make a spore print and note any bruising or odor.
- Compare: run evidence through field guides or a trusted photo identifier as a first pass.
Examples from common mushroom hunting situations
Example 1 — Solitary bolete under oak: You find a single mushroom with a broad convex cap, pores instead of gills, and a stout stem near an oak. Take photos showing the pore surface and the exact oak root area. Bolete candidates often give clearer leads from pore color and bruising reactions; record whether the flesh turns blue when cut. That blueing narrows possibilities but does not indicate edibility alone.
Example 2 — Small white lawn mushrooms after rain: A cluster of small white gilled mushrooms appears in a wet lawn. Photograph the gill attachment and the stem base; many small white species are difficult to ID from photos because subtle veil remnants or base bulbs are the diagnostic parts. Treat this group as higher uncertainty and avoid any consumption decisions without expert verification.
Example 3 — Cluster on conifer log: A tight cluster of brownish, attached-stem mushrooms growing from a decaying conifer log suggests wood-decay species like some Armillaria or Hypholoma. Note whether stems are fused, whether there are caps with a central boss, and test for anise or bitter odor. These habitat clues strongly support a wood-rotting genus but rarely confirm species without spore print and microscopic checks.
Example 4 — Amanita-like with bulb and ring near pines: If you find a mushroom with a white gilled underside, a ring on the stem, and a volva or swollen bulb at the base near pines, document the base carefully. Many deadly Amanita species have these features; this is a high-risk group where visual notes and photos are valuable for identification but should never be used to assume safety. Seek expert verification for any Amanita-like find.
Limitations
Photos and habitat data can narrow candidates but rarely give absolute certainty. Lighting, angle, and similar-looking species make photographic identification probabilistic. Some diagnostic features require a microscope (spore ornamentation, cystidia) or chemical reagents to reveal; other traits are only evident in cross-section or with age. Treat field photos as hypothesis generators, not final proofs.
Separate outcomes by confidence level: high-confidence IDs can sometimes be reached for distinctive groups (large boletes with unique pore colors, chanterelles with false gills and trumpet shape), partial IDs are common (accurate genus but ambiguous species), and uncertain outcomes are frequent for small white mushrooms, young specimens, or heavily weathered fruitings. Document what supports and contradicts each tentative conclusion.
When to verify with a trusted source: if you plan to consume a specimen, stop and seek verification from multiple trusted sources — local mycological society, experienced forager, or an accredited lab. If a find resembles known toxic groups (Amanita-like structures, heavily blue-staining boletes, or mushroom species known for lookalikes), prioritize in-person or microscope-level verification over photo-only ID.
Safety boundaries: never taste a wild mushroom to test edibility, and avoid recommending consumption based solely on photos or habitat. Use your notes and photos to reduce uncertainty, then consult specialists for confirmation when life-safety is a concern.
Related guides
Ready to compare your photos to likely matches?
After you’ve followed the checklist above, try a careful first-pass with the Mushroom Identifier tool as an optional next step. It can help surface visual candidates based on your photos; treat any suggestion as provisional and follow up with field guides or a local expert for verification: https://mushroomidentification.app/tools/free-mushroom-identifier
Take the next step →Frequently asked questions
Is mushroom hunting dangerous?
Mushroom hunting itself is low-risk if you act carefully, but identifying mushrooms incorrectly can be dangerous if used to justify eating them. The main safety risk comes from assuming edibility based on photos or habitat. Always treat identifications as provisional and consult experienced identifiers or labs before consuming any wild mushroom.
What are the best photos to take when mushroom hunting?
Take a set of standard photos: the cap top, cap underside (gills/pores/teeth), whole mushroom from the side showing stem and cap, a close-up of the stem and base (dig if necessary), and a habitat shot showing nearby trees and substrate. Include a scale reference in at least one photo and take notes on date, weather, and growth pattern.
Can I identify mushrooms from a single photo?
Sometimes a single photo is enough for genus-level suggestions when the species is distinctive, but many identifications require multiple angles and contextual clues. Single photos increase the chance of misidentification, especially for lookalike groups; treat single-photo IDs as tentative and gather more evidence before acting on the result.
Who should I contact to verify a tricky mushroom ID?
Start with your local mycological society or an experienced regional forager; many societies offer in-person ID sessions and forums. For high-risk questions or legal/medical concerns, look for an accredited mycology lab or university extension service. When contacting experts, provide clear photos, spore print color, substrate notes, and the specimen’s exact appearance.