
Mushroom Guides: Visual Clues, Steps, and Safety Checks
An actionable mushroom guides article that shows the visible clues, step-by-step photo checks, common lookalikes, and when to seek expert verification.
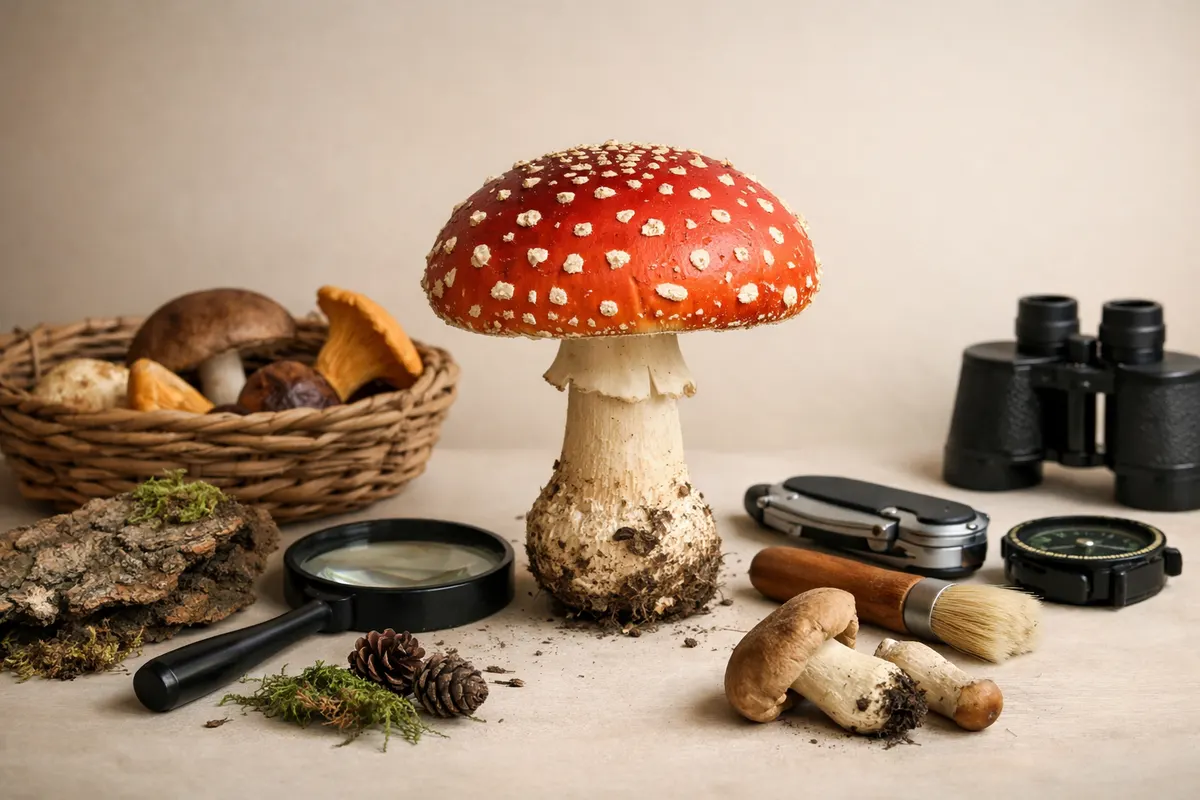
Quick answer: what good mushroom guides do
A practical mushroom guide turns photos and simple field notes into a short checklist: cap shape, gill or pore structure, stem details, spore evidence, substrate, and habitat. When those clues line up they narrow possibilities; when they conflict, they expose uncertainty.
For a fast first pass, high-confidence clues include distinctive cap textures (scaly, viscid, velvety), unique undersides (pores versus gills), and immediate habitat (growing on wood, on soil, in grass, or on dung). These tend to rule in or out entire groups quickly.
That said, many species require more than a single photo to confirm. Good guides show which visible features reduce risk and which require a lab test or expert glance. Treat an initial visual ID as a working hypothesis, not a final verdict.
- Start with cap shape and surface (convex, conical, umbonate, scaly) to split broad groups.
- Check the underside: true gills, ridges, or pores often separate families.
- Note substrate and nearby trees; mycorrhizal partners and wood preference narrow species quickly.
- Use bruising color and an easily made spore print when a photo leaves doubt.
mushroom identification guide: what it is and how it helps
A mushroom identification guide is a structured approach to recognizing fungi from visual and contextual evidence. It organizes observable field marks into categories that help you compare a specimen against known groups: cap, flesh, gills/pores, stem, ornamentation (scales, warts), habitat, and reaction to handling.
In practice, the guide reduces complexity. Instead of memorizing thousands of Latin names, you learn which diagnostic features are reliable for everyday decisions: whether something belongs to an edible genus, whether it’s a likely poisonous lookalike, or whether further tests (spore print, microscopy) are needed.
Good guides also make uncertainty visible. They separate high-confidence outcomes (e.g., “likely boletes with pores and no gills”) from partial or uncertain ones (e.g., “could be one of several white gilled mushrooms — spore print required”). That layered output is what you should expect from practical field guidance.
- Organize observations into cap, underside, stem, context, and reactions rather than guessing species right away.
- Use a guide to prioritize low-effort, high-value checks first (underside structure, substrate, and smell) before costly tests.
- Expect a final identification only after confirming multiple independent clues; the guide’s job is to show what to check next.
mushroom visual clues to check in photos
When you only have photographs, prioritize clues that are both visible and diagnostic across many genera. The underside of the cap is one of the most informative single views: look for gills that are attached or free, pores, teeth, or a smooth underside. Capture this in your photography whenever possible.
Cap texture and margin details are also strong indicators. A sticky or viscid cap often points toward certain genera (e.g., Cortinarius group traits), while scales or warts suggest others (Amanita or certain russulas). Color alone is unreliable because age, weather, and light change it.
Stem features are frequently overlooked but critical: ring or annulus presence, volva or bulb at the base, surface texture (smooth, fibrillose, scaly), and whether the stem bruises when handled. Photographing the base requires careful excavation and a wider context shot showing substrate and nearby trees.
- Underside structure: gills (attached/free), pores, teeth, or a smooth surface.
- Cap: margin shape, center prominence (umbo), surface texture (viscid, scaly, fibrillose).
- Stem: ring, volva, base swelling, surface fibers, and bruising response.
- Spore print color: white, pink, brown, black, or ochre — collect when photos leave doubt.
- Substrate and habitat: on wood, soil, leaf litter, or dung; nearby tree species and season.
- Smell and taste: smell carefully (do not taste unknown mushrooms) when this clue is well-known for a group.
Step-by-step workflow
Adopt a consistent photo and note workflow before trying to name a mushroom. Start with five photos: top of cap, side with scale for size, close-up of the cap surface, clear shot of the underside, and a picture of the base and substrate. If you can, take a short video of the habitat to capture context (nearby trees, density, ground cover).
Record basic contextual notes at the time of collection: GPS or nearest town, date, recent weather, substrate type, and whether the specimen was solitary or in a cluster. These short notes make identification far more reliable than photos alone because many fungi are tightly linked to tree species or season.
If the visual signs leave ambiguity, add two low-effort tests: a small spore print on white and dark paper to reveal spore color, and a gentle bruising test to record color change. Never consume a specimen based on photo ID alone; treat any image-based suggestion as provisional until verified by a trusted resource.
- Capture these five views: cap top, cap side with scale, close cap surface, underside, base with substrate.
- Note time, place, nearby trees, and whether the mushroom is on wood or soil.
- Make a spore print when color is diagnostic; use white and dark paper to be sure.
- Photograph any color changes after bruising or cutting the flesh.
- Avoid disturbing fragile habitats; remove only small samples and replace litter to minimize impact.
Examples
Example 1 — A brown, convex cap with pores, no ring, and a thick solid stem found on the forest floor. The underside shows large angular pores and the stem bruises blue. Those clues point quickly toward boletes: a pore-bearing group. From here a guide narrows suspects by checking pore size, color changes on cutting, and host tree association. For more focused bolete detail, see our bolete identification article.
Example 2 — A white-capped mushroom with a skirt-like ring, a distinct bulbous base, and patches of warty remnants on the cap. Even from a single clear photo, those features raise strong concern for the Amanita family. A practical guide flags this as high-risk and recommends avoiding any tasting and seeking expert verification because many Amanitas are dangerously toxic.
Example 3 — A cluster of small yellow funnel-shaped mushrooms on fallen wood with decurrent gills (gills running down the stem). The combination of cluster habit, decurrent gills, and wood substrate narrows likely genera dramatically and allows a confident working ID in many cases without microscopy.
- Brown pore-bearing cap + blue bruising + conifer host = think boletes; check pore color and flesh bluing.
- White cap + ring + volva remnants = Amanita suspects; mark as high-risk and verify.
- Cluster on wood + decurrent gills = likely wood-inhabiting genera (e.g., some chanterelles or crepidotus-like groups).
Limitations
Photographs are powerful but limited. Many critical diagnostic features require tactile or microscopic inspection: spore ornamentation, microscopic cystidia, precise spore dimensions, and internal flesh reactions. Two visually similar species can only be separated with a microscope or chemical reagents.
Seasonal wear, insect feeding, weathering, and camera white balance all change color and fine texture in photos. Young specimens often lack the adult features used for ID; conversely, old specimens can be deformed. A guide should flag these as partial or low-confidence situations and recommend direct examination when stakes are high.
Safety limitations are especially important. Photos cannot certify edibility or toxicity. Eating a mushroom on the basis of a visual-only match carries real risk. If a mushroom is being considered for consumption, verify the ID with a local expert or multiple trusted resources and follow conservative rules: avoid single-specimen decisions, avoid lookalikes with known toxic members, and never rely on a single visual checklist alone.
- Microscopic features and chemistry can be required to separate lookalike species.
- Weathered or insect-damaged specimens often mislead visual-only guides.
- Photo-derived IDs should be treated as provisional: verify before tasting or selling.
- When in doubt, contact a local mycological society or submit specimens to an expert; use multiple independent confirmations for safety.
Related guides
Try a calm, photo-based next step
If your photos and notes have narrowed possibilities but uncertainty remains, try the site’s optional free identification tool for a first-pass suggestion: https://mushroomidentification.app/tools/free-mushroom-identifier. Use the tool only after you’ve captured clear cap, underside, base, and habitat photos and the notes described above. Treat any machine or photo-based result as provisional, and follow up with the recommended checks, spore print, or a local expert for verification.
Take the next step →Frequently asked questions
Which mushroom types should I expect in my region and how do I start identifying them?
Start by learning the broad local groups you commonly encounter: agarics (gilled mushrooms), boletes (pore-bearing), polypores and bracket fungi (often on wood), and coral or tooth fungi. Begin identification with habitat and substrate — for example, many boletes associate with conifers or oaks — then use the photo-first workflow: cap, underside, stem, base, and context. Joining a local mycological society or checking regional field guides will quickly teach which genera are common in your area.
How do I take photos that let a guide make a reliable suggestion?
Photograph at least five views: top of cap, side with a scale object (coin or ruler), close-up of cap texture, clear underside showing gills or pores, and the base with substrate. Include a wide shot of the surrounding habitat to capture tree type and ground cover. Shoot in diffuse light to preserve color and avoid overexposure. Add brief notes: GPS or nearest town, date, and observed bruising or odor. These details allow a guide to weight visual clues appropriately and avoid false positives.
When should I make a spore print and how does it help?
Make a spore print when gill or pore color is unclear in photos or when the suspected group is known to be separated by spore color. Place a cap (gill-side down) on white and dark paper half-and-half and cover it overnight. Spore color—white, cream, pink, brown, or black—often eliminates whole genera and is a low-tech, high-value test that complements photographs without needing microscopy.
How should I use a mushroom identification guide if I find a suspicious-looking specimen?
If a specimen looks suspicious (white gills with a volva, strong and unusual odors, or any sign associated with known toxic groups), treat the guide’s visual suggestions as provisional and do not taste. Document the specimen with photos and notes, then seek verification from a local expert or authoritative resource before acting. For suspected edible interest, follow conservative rules: require multiple confirming features, verify with more than one trusted source, and when possible, have an experienced identifier inspect the specimen in person.