
Mushroom Identification Chart
A practical mushroom identification chart: what photos can prove, the visible clues to check, step-by-step photo workflow, and safe limits before you act.
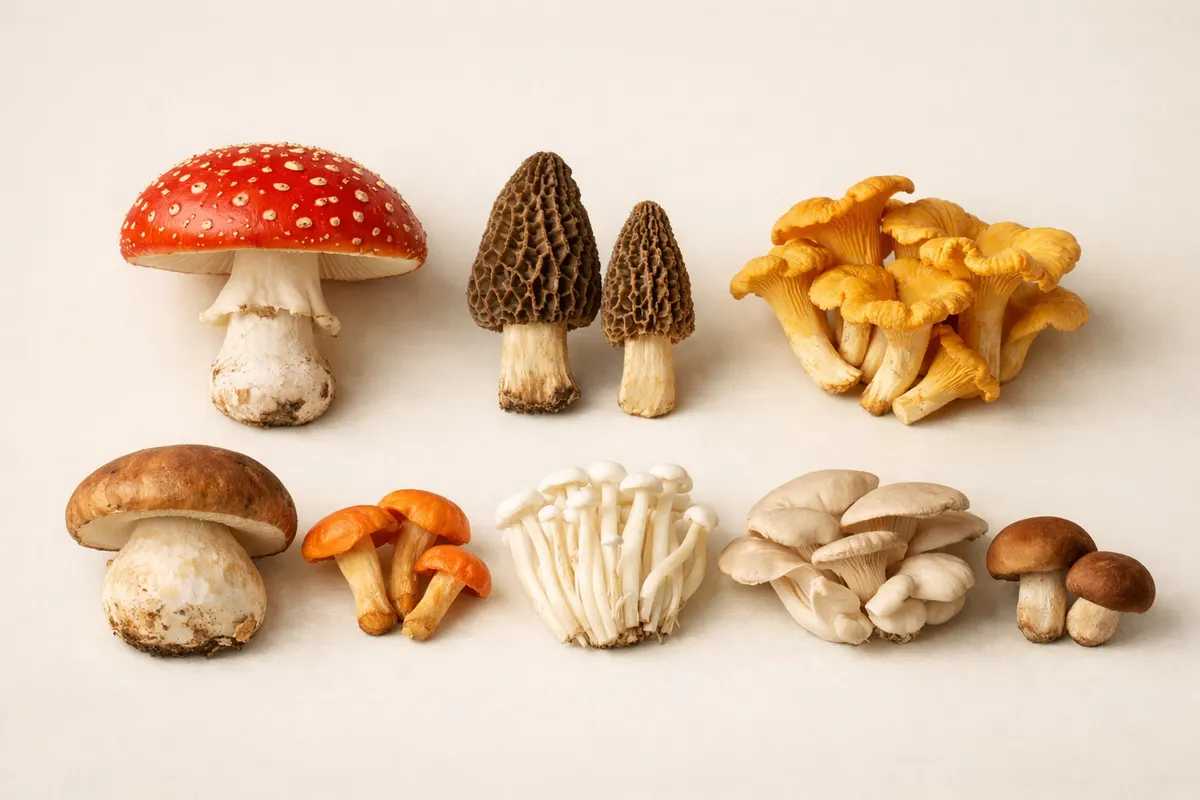
Quick answer: what a mushroom identification chart does
A mushroom identification chart is a structured checklist that turns a picture and a few simple notes into the strongest possible clues for identification. It organizes visible traits — cap shape, gill attachment, stem features, surface texture, and habitat — so you can narrow candidate species without overclaiming certainty.
From one photo you can often confirm basic categories (for example: cap convex vs. funnel, gills present vs. pores, or a sticky vs. dry surface). A chart helps you prioritize which extra photos or tests will move an uncertain ID toward higher confidence, such as a spore print or underside shot.
Use a mushroom identification chart as a triage tool: it separates high-confidence observations you can make from a photo, partial clues that need a little more evidence, and uncertainties that require handling with caution. That approach reduces mistaken assumptions and points you toward safe follow-up steps.
- What it reliably gives: cap shape, color patterns, visible gill or pore structure, surface texture, and immediate habitat context.
- What it can suggest but not prove: species-level identification from a single image and any claims about edibility or toxicity.
- Fast action: use the checklist to flag photos that need a spore print, scale reference, or underside images before deciding.
What a mushroom identification chart actually represents
A mushroom identification chart is a visual and textual map of field marks — the observable characters mycologists and experienced foragers use to separate groups of fungi. Think of it as a prioritized list: which visible traits are most diagnostic, which are supportive, and which are unreliable from a single photo.
For example, the chart will place cap shape (convex, bell, flat, funnel) and surface texture (scaly, slimy, fibrillose) in the high-visibility column because those features are often clear in photographs. By contrast, internal odor, subtle bruising color, or microscopic spore ornamentation belong in lower-confidence rows because they need in-person tests or lab work.
A practical chart also records how a feature pairs with others. White gills plus a white spore print versus white gills and a brown spore print lead you toward very different groups. The chart’s purpose is not to produce an instant species name but to convert observations into a reasoned shortlist and next-check list.
- Field marks are ranked: primary (visible in photos), secondary (confirmable with simple tests), and tertiary (microscopic or chemical).
- Charts reduce bias by requiring multiple matching traits rather than relying on one distinctive but deceptive feature.
- A chart supports safer behavior: it emphasizes uncertainties and the tests or photos needed to reduce them.
Key clues to check on your mushroom identification chart
Start with the features that are most likely to be accurate from photos. Cap shape, margin features (rolled, straight, lobed), surface texture, and obvious color zones are usually consistent between photos and the specimen in hand. Photograph the cap from above and at an angle to capture these traits.
Underside features are the next priority: gills, pores, spines, or ridges. Note whether gills attach to the stem (adnate, adnexed, decurrent) or stop short. Pores and spines indicate boletes or tooth fungi; those groups require different follow-up checks than gilled mushrooms.
Stem traits — presence of a ring, volva at the base, surface texture, and bruising reactions — often appear less obvious in casual photos but are essential to rule major lookalike groups in or out. Habitat and substrate (on wood, grassy field, leaf litter) provide ecological context that the chart uses to refine possibilities.
- Cap: shape (convex, umbonate, saucer), surface (viscid when wet, scaly, fibrillose), diameter with scale reference.
- Underside: gills vs. pores vs. spines; gill spacing (crowded or distant); gill attachment to stem.
- Stem: central vs. off-center, ring or annulus present, volva or cup at base, bruising color when handled.
- Surface details: color zonation, warts or scales, sticky layer (pellicle) visible in wet conditions.
- Context: substrate (wood, soil, dung), nearby tree species, season, and precise location (region / GPS if safe to record).
- Scale cues: include a coin, ruler, or a finger for reliable size estimates; size changes how some species are interpreted.
Step-by-step workflow using a mushroom identification chart
1) Photograph methodically. Take at least five views: top of cap, edge of cap, underside (gills/pores), full stem including base, and context showing substrate. If possible, include a scale object. These images supply the raw evidence your chart needs to rank field marks.
2) Fill the chart from photo evidence. Mark which primary traits you can confirm directly (for example, 'convex cap', 'crowded gills', 'stem ring absent') and which you cannot. This produces a short list of candidate genera that match the confirmed traits.
3) Run the recommended quick checks. The chart should tell you which low-effort tests will clarify the shortlist: an immediate bruising check (note color change), a spore print color, or a smell test (done safely and with minimal handling). Only proceed with tests you can perform without risking ingestion or contamination.
4) Reassess with secondary evidence. Add the results of the quick checks to the chart and see which candidates remain. If multiple species still fit, the chart will flag the remaining uncertainties that require expert review or microscopic analysis.
5) Decide next steps. For foraging or handling decisions, err on the side of caution. If the chart outcome is uncertain, avoid tasting or consuming, and consult a local mycological society or a field guide. If the chart gives a high-confidence match, record the findings and, if appropriate, collect the specimen for professional verification following local rules.
- Photo checklist: cap top, cap margin, underside, stem base, habitat shot, plus scale.
- Quick in-field tests: bruising reaction, safe smell check, and a spore print where feasible.
- Use the chart to mark confirmed vs. unconfirmed traits and narrow the genus-level candidates first.
- If uncertainty remains, prioritize sending photos and the checklist to experienced identifiers rather than making a consumption decision.
Examples: applying a mushroom identification chart in the field
Example 1 — A brown-capped mushroom in leaf litter: Photos show a dry, fibrillose cap, adnate crowded gills, a slender stem without a ring, and growth on deciduous leaf litter. The chart ranks initial candidates toward small agarics in genera like Mycena or Marasmius. A spore print and a close micro-examination will separate them; the chart recommends a spore print and a close-up of the cap margin next.
Example 2 — A large bolete on a conifer trail: The cap is velvety and olive-brown, underside with pores, and the stem shows faint reticulation. The chart places this confidently in the bolete group and directs the identifier to check for blue staining on cut flesh, pore color, and whether the stem bruises. That sequence rules in or out commonly confusing boletes without immediate lab work.
Example 3 — White-capped gilled mushroom near roots: White cap, free gills, and a basal volva visible in one photo. The chart flags an Amanita-like profile and elevates caution: it lists tests (spore print color, intact base excavation) and advises no handling beyond photography for untrained people. The chart’s job here is to raise a red flag and outline safe verification steps.
- Small brown agaric: use cap margin photos and spore print to separate lookalikes.
- Bolete: pore color and bruising are decisive—chart directs those checks first.
- White-gilled species: chart elevates caution and recommends expert consultation before any handling.
Limitations: what a mushroom identification chart cannot do
A mushroom identification chart cannot—and should not—guarantee species identity from a single photo. Many species differ only under the microscope or by subtle chemical reactions; others look nearly identical across genera. The chart makes these limitations explicit and separates observations that are high confidence from those that require lab verification.
Edibility, toxicity, and chemical composition are outside what a photo-based chart can prove. Even when a chart strongly suggests a non-toxic species, local variations, lookalikes, and misinterpretation mean photograph-based identifications must never be treated as a definitive guide to safe consumption.
Charts also depend on photo quality and completeness. Missing views (no underside or base shot), poor lighting, or lack of scale undercut the chart’s usefulness. Finally, regional species pools vary; a chart that does not account for local ecology can mislead, so the chart’s suggestions must be combined with regional field guides or local expert input when available.
When to stop: if a chart’s checklist leaves multiple plausible candidate species that include known toxic lookalikes, stop further handling, do not taste, and seek expert verification. The chart’s most important function here is to make uncertainty visible and protect against overconfidence.
- Cannot prove edibility or toxicity from photos alone—never consume based on a picture-only ID.
- Microscopic features and chemical reactions are outside photo-chart certainty.
- Incomplete or low-quality photos drastically reduce reliability; the chart assumes a minimum photo set.
- Regional species differences mean charts should be combined with local guides or expert review.
Related guides
Act faster with a guided mushroom identification chart
Mushroom Identifier: Fungio turns the checklist above into an interactive field-mark workflow so you can capture the right photos, run the quick checks a chart recommends, and get focused next-step guidance from your phone. Use the app to scan photos you already have or follow its photo checklist in the field to collect the five essential views and a scale reference. Fungio does not replace expert verification, but it helps you get the evidence experts ask for faster — making follow-up, spore prints, or local consultation more productive and safer.
Take the next step →Frequently asked questions
Can a mushroom identification chart identify a species from one photo?
A single photo can often place a mushroom into a broad group (gilled, bolete, polypore) and confirm primary traits like cap shape or pore surface, but it rarely proves a species. Charts are designed to convert photos into ranked clues and to tell you which additional photos or tests will increase confidence. For species-level certainty, follow-up with spore prints, base and microscopic checks, or expert verification is usually necessary.
What photos are required for the most accurate use of a mushroom identification chart?
Capture at minimum: (1) a top-down cap shot, (2) a side view showing cap margin and stem, (3) an underside image of gills/pores/spines, (4) the stem base (excavated carefully if needed), and (5) a habitat shot showing substrate and surrounding plants. Include a scale object in at least one frame. These views let the chart register primary and secondary traits and reduce common misidentifications.
How does a spore print fit into a mushroom identification chart?
A spore print is a high-value secondary test the chart often lists when gill color or spore-related traits are decisive. It can separate groups that look similar above ground (for example, white-spored vs. brown-spored gilled species). The chart will recommend a spore print only when it meaningfully reduces candidate species; it also pairs that result with other traits to avoid overreliance on a single test.
When should I consult an expert instead of relying on a chart?
Consult an expert whenever the chart yields multiple plausible species that include toxic lookalikes, when the identification has safety implications (foraging, medicinal use), or when photos are incomplete or ambiguous. Use the chart first to produce a clear evidence list and spore print or bruising notes — those details make expert review faster and more reliable.